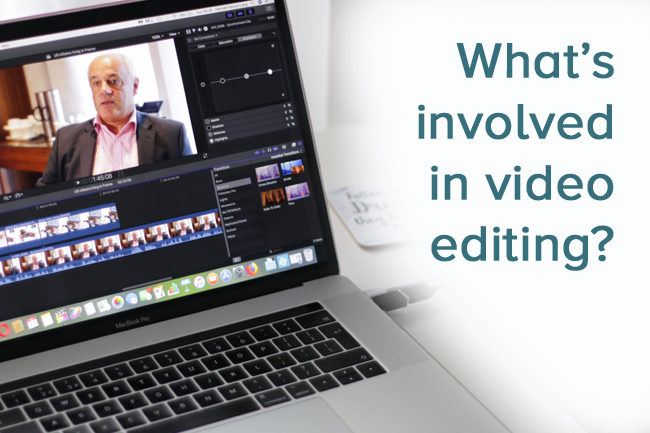
Ever wondered what video editors do for hours in a darkened room? Here are some insights.
Loading in the footage: Plugging in the SD card, I can save all the footage onto my hard drive via my computer. I keep super organised, labelling everything clearly as there are often hours of footage to deal with after a shoot. I’d hate to lose those shoot days and all the contributions of everyone involved! From tape years ago it would have to be in real time but 10 mins will do it these days.
Importing the footage: The editing software I use is Final Cut Pro X. From this programme I can select the clips I want to use and load them into the programme.
Synchronising the sound to the pictures: Because I record the sound for interviews on a separate device I need to synchronise it with the pictures. Fortunately Final Cut Pro X is very clever and will align the files exactly together, all at the click of a button.
The fun begins: This is when it really gets going. I start a new project file for the video, selecting the best resolution, frame rate and dimensions. (All of it’s wide screen these days.) This gives me a “timeline” to put all the clips into, in the order I like.
I start with the interviews. As I play through the clips of the interview I choose start and end points for each good sound bite and send them across to the timeline. Next I go through my chosen clip sections, re-arrange them to make sense and delete any bits I don’t need. Before long I have the story outline.
Then I select and add in visual footage to cover some of the talking and illustrate the point being made. I normally try putting in different clips and see which works best. This process is quite intense but when it works it’s very rewarding and the video is really beginning to take shape.
Some of the clips may need slowing down, speeding up, stabilising, cropping, etc. There are dozens of effects you can utilise in Final Cut. You can give your clips an aged, vignette, cross-hatched, glow, dream or faded look and dozens of other effects. I also add dissolves to help clips merge into each other gently. Blur effects between clips give a more modern, stylised look to the piece.
All the clips and effects are visually represented in the timeline, which is now looking pretty busy! You can see how much editing has been done in a video by how complicated it looks in the timeline window.

Colour correction: This means adjusting each visual clip so that they’re no too dark/light/red, etc. If shots are taken in different light conditions (eg inside and outside) the lighting will need adjusting to give a consistency that isn’t jarring to watch. If a shot is too bright you can change the exposure. You can even make daylight look like night time! There are dozens of tools and effects within the software which allow you to do this. And plug-ins give additional options.
Creating titles: This will normally include some of the best shots from the video and the company logo, to get viewers engaged right from the beginning. I like to get some movement into it, revealing the logo in a visually interesting way. This can be done using “keyframes” which will transform, crop, distort at different points in time. Timing the movements with the music create maximum impact and cohesion.
Captions: Contributors need to be named. Sometimes music, artwork or locations require a caption. Highlighting key points made by the interviewee using captions is also a useful way to get the messages across and add visual interest. I keep the fonts and text colour consistent with the business branding. Final Cut has templates for captions but I often create my own and this makes the video unique.
Music: Choosing the right music is crucial. It creates so much atmosphere and brings everything together. I choose from royalty-free library music so there are no complications with copyright. Different music producers have different payment options and they totally vary. The music is attached to the timeline and moved to the point where it’s needed.
Sound editing: The volume levels for the music, voices and background sounds need adjusting and fading in and out so it’s not too abrupt.
Making changes: Shooting and editing a video is a creative and therefore a personal thing but I’m open to ideas and suggestions. So when I send a rough cut to a client I allow the opportunity for the client to suggest changes. I give them time for them to discuss the video with me and then adjust accordingly.
Exporting and uploading: This is the final process where the video is transported from my computer software into a format that can be sent to the client. Up it goes to YouTube from where businesses can link. Many businesses have their own YouTube channel and I can upload it directly.
Huge sigh of relief and happy customers: I love it when a video comes together!

